
Follow the recipe below for the cake or use a cake mix from the store. The candied Orange peel you will have to make from scratch.
Almond Cake Recipe [ If you don’t want to bake, use an almond cake Mix available at some grocery stores]
DIY Holiday Cake: Almond Cake Decorating with Sugared Orange Peels
The holiday season calls for festive treats that not only taste delightful but also charm with their presentation. One such crowd-pleaser is the Almond Cake—a rich, moist dessert infused with nutty goodness and crowned with an elegant decoration of sugared orange peels. This DIY holiday cake is simple to make, beautiful to display, and perfect for sharing with loved ones. Here’s a step-by-step guide to baking and decorating your own holiday masterpiece.
Ingredients for Almond Cake
- 1 1/2 cups almond flour
- 1 cup all-purpose flour
- 1 1/2 teaspoons baking powder
- 1/4 teaspoon salt
- 1/2 cup unsalted butter, softened
- 3/4 cup granulated sugar
- 3 large eggs
- 1 teaspoon vanilla extract
- 1/2 teaspoon almond extract
- 1/2 cup milk
Ingredients for Sugared Orange Peels
- 2 large oranges, peeled into strips
- 1 cup granulated sugar
- 1/2 cup water
Baking the Almond Cake
- Preheat the oven to 350°F (175°C). Grease and flour an 8-inch round cake pan.
- Mix dry ingredients: In a bowl, whisk together almond flour, all-purpose flour, baking powder, and salt.
- Cream butter and sugar: In a separate large bowl, beat the softened butter and sugar until light and fluffy.
- Add eggs and extracts: Beat in the eggs one at a time, followed by vanilla and almond extracts.
- Combine mixtures: Alternately add the dry ingredients and milk to the butter mixture, starting and ending with the dry ingredients. Mix until just combined.
- Bake: Pour batter into the prepared pan and bake for 35-40 minutes or until a toothpick inserted into the center comes out clean.
- Cool: Let the cake cool in the pan for 10 minutes, then transfer to a wire rack to cool completely.
Making Sugared Orange Peels
- Prepare peels: Slice the orange peels into thin strips, removing as much white pith as possible to avoid bitterness.
- Blanch peels: Boil the strips in water for 2 minutes, then drain. Repeat this blanching process two more times to soften the peels and mellow the bitterness.
- Simmer in sugar syrup: In a small saucepan, combine sugar and water. Stir over medium heat until sugar dissolves. Add the peels and simmer gently for about 45 minutes until translucent.
- Dry and sugar: Using a slotted spoon, remove the peels and place them on a wire rack to dry for a few hours. Once dry, toss them in granulated sugar to coat evenly.
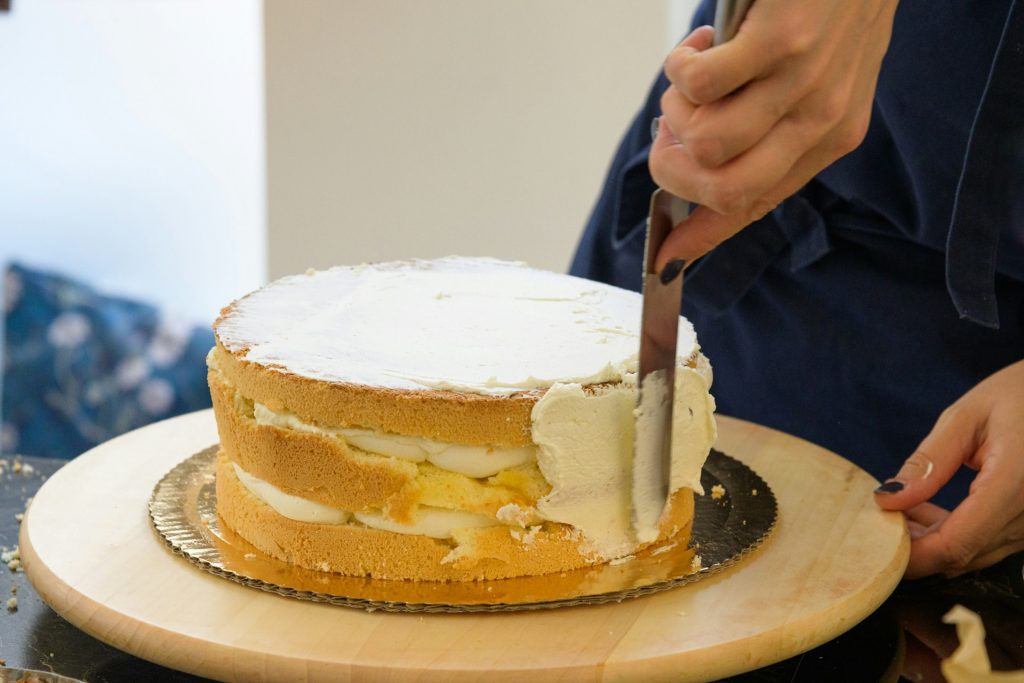
Decorating Your Holiday Almond Cake
Once the cake is completely cooled, you can choose to dust it lightly with powdered sugar or spread a thin layer of almond or orange-flavored glaze for added shine. Arrange the sugared orange peels artistically on top of the cake. They can be twisted into spirals, layered in a wreath pattern, or scattered delicately for a rustic look.
Final Touches
For added holiday cheer, consider sprinkling a few toasted almond slivers around the edges or adding a sprig of fresh rosemary or mint for a pop of green. The combination of nutty almond flavor and sweet, citrusy orange peels makes this cake a memorable centerpiece for any holiday gathering.
This DIY Almond Cake with Sugared Orange Peels is as rewarding to make as it is to eat. Its beautiful balance of flavors and elegant decoration make it perfect for celebrating the season with family and friends. Happy baking!