Start Working on Holiday Lights | A comprehensive Guide| Day 15 of 60 Holiday Prep for Thanksgiving and Christmas

Holiday Lights for 2025

The holiday season is upon us, and what better way to spread cheer than by adorning your home with beautiful Christmas lights? Whether you live in a cozy one-bedroom apartment or a spacious three-bedroom house, there are plenty of ways to create a festive atmosphere without breaking the bank. In this blog post, we’ll explore budgeting for lights and electricity, decorating themes for 2025, installation timeframes, and safety tips to ensure your holiday decorating is both joyful and safe.
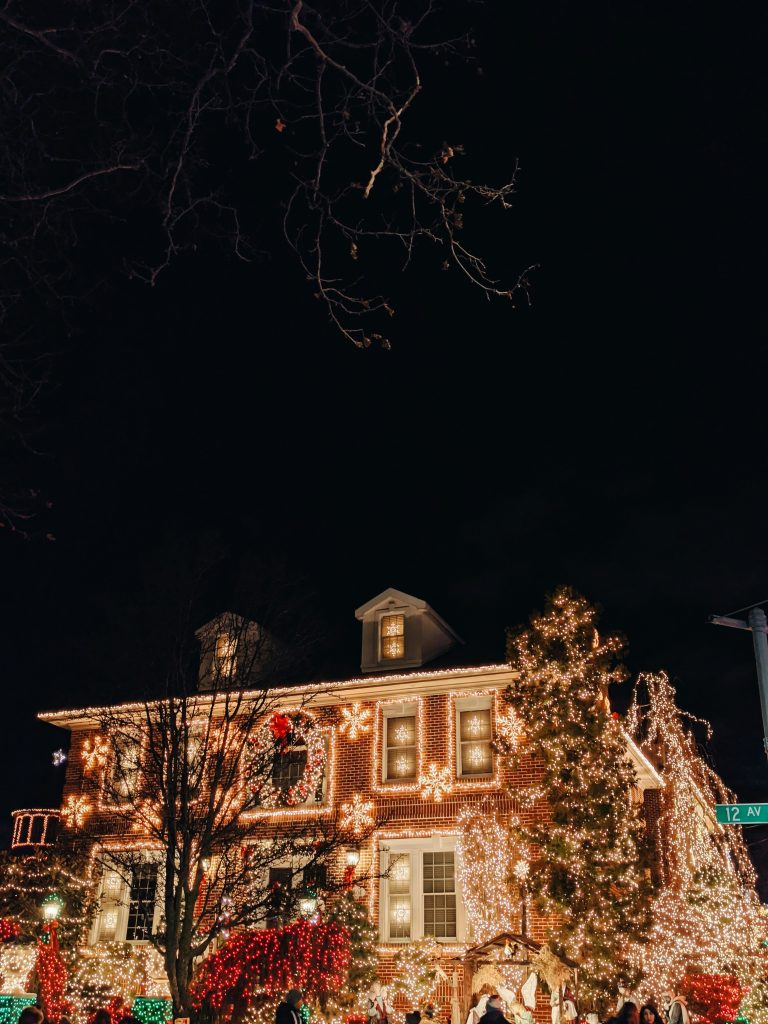
Budgeting for Christmas Lights

One-Bedroom Apartment

  • Lights Budget: $50 – $100
  • String lights: $20 – $40
  • Accent lights (like LED candles or small decorations): $30 – $60
  • Electricity Cost: Approximately $10 – $20
  • Expect an increase of about $5 – $10 per month for the holiday season.

Two-Bedroom Apartment

  • Lights Budget: $100 – $200
  • String lights: $40 – $80
  • Additional decorations (like wreaths or window lights): $60 – $120
  • Electricity Cost: Approximately $15 – $30
  • An increase of about $10 – $15 per month.

Three-Bedroom House

  • Lights Budget: $200 – $500
  • String lights: $80 – $150
  • Outdoor decorations (like inflatable figures or larger displays): $120 – $350
  • Electricity Cost: Approximately $30 – $60
  • An increase of about $20 – $30 per month.

Decorating Themes for 2025

As we step into 2025, several exciting themes are trending for Christmas decorations:

  1. Sustainable and Eco-Friendly: Using solar-powered lights and biodegradable decorations is becoming increasingly popular.
  2. Vintage Charm: Retro colors and classic designs evoke nostalgia, with warm whites and soft pastels leading the way.
  3. Minimalist Elegance: Simple, clean lines with a focus on natural materials and subtle lighting create a serene holiday atmosphere.
  4. Whimsical Wonderland: Bright colors, playful designs, and fun characters bring a sense of joy and playfulness to your decor.

Installation Timeframes

  • One-Bedroom Apartment: Expect to spend about 1-2 hours setting up your lights, especially if you’re keeping it minimal.
  • Two-Bedroom Apartment: Allocate around 2-4 hours for a more elaborate setup, including both internal and external decorations.
  • Three-Bedroom House: Depending on the complexity, it can take anywhere from 4-8 hours to fully decorate, especially if you’re incorporating outdoor lighting.

Safety Tips and Hazards to Avoid

When putting up Christmas lights, safety should always be a priority. Here are some essential tips to keep in mind:

  1. Check for Damage: Inspect all lights and cords for frays or damage before use. Discard any that are not in good condition.
  2. Use Indoor/Outdoor Rated Lights: Ensure that your lights are rated for the environment in which you’re using them. Indoor lights should not be used outside.
  3. Avoid Overloading Circuits: Be mindful of how many lights you plug into a single outlet. Overloading can lead to tripped breakers or even fires.
  4. Secure Your Ladder: If you’re using a ladder to hang lights, ensure it’s stable and positioned on a flat surface. Never lean too far to one side.
  5. Keep Decorations Away from Heat Sources: Ensure that lights are not placed near flammable materials or heat sources to prevent fire hazards.
  6. Turn Off Lights When Not Home: To save energy and reduce fire risks, turn off your lights when you’re not home or use a timer.

Decorating your home with Christmas lights is a wonderful way to celebrate the holiday season and create a warm, inviting atmosphere. By planning your budget, choosing a theme that resonates with you, and following safety guidelines, you can enjoy a beautifully lit home without the stress. So gather your lights, get creative, and let your holiday spirit shine bright!
Buy Holiday Ingredients for Baking | Day 12 of 60 for Health-Storey Holiday prep

Holiday Baking Preparation: Your Essential Ingredient List and Budget

The holiday season is upon us, and with it comes the joy of baking! Whether you’re preparing Christmas cookies for gifting, Thanksgiving pies, or festive breads and cakes, having the right ingredients on hand is essential for a successful baking experience. To help you get started, we’ve compiled a comprehensive list of essential holiday baking ingredients along with an estimated budget for a family of four.

Essential Holiday Baking Ingredients

  1. Flour
  • All-purpose flour (5 lbs)
  • Estimated Cost: $3.00
  1. Sugar
  • Granulated sugar (4 lbs)
  • Brown sugar (2 lbs)
  • Estimated Cost: $4.00
  1. Baking Powder and Baking Soda
  • Baking powder (8 oz)
  • Baking soda (8 oz)
  • Estimated Cost: $2.00
  1. Salt
  • Kosher salt (26 oz)
  • Estimated Cost: $1.00
  1. Butter
  • Unsalted butter (1 lb)
  • Estimated Cost: $4.00
  1. Eggs
  • Large eggs (1 dozen)
  • Estimated Cost: $3.00
  1. Milk
  • Whole milk (1 gallon)
  • Estimated Cost: $3.00
  1. Vanilla Extract
  • Pure vanilla extract (4 oz)
  • Estimated Cost: $6.00
  1. Cocoa Powder (for chocolate treats)
  • Unsweetened cocoa powder (8 oz)
  • Estimated Cost: $3.00
  1. Nuts (optional, for cookies and cakes)
    • Walnuts or pecans (1 lb)
    • Estimated Cost: $6.00
  2. Chocolate Chips (for cookies)
    • Semi-sweet chocolate chips (12 oz)
    • Estimated Cost: $3.00
  3. Fruits (for pies and breads)
    • Fresh cranberries (12 oz)
    • Apples (3 lbs)
    • Estimated Cost: $5.00
  4. Spices
    • Ground cinnamon (2 oz)
    • Ground nutmeg (2 oz)
    • Ground ginger (2 oz)
    • Estimated Cost: $4.00
  5. Yeast (for bread)
    • Active dry yeast (3 packets)
    • Estimated Cost: $2.00
  6. Zest and Juice (for flavor)
    • Lemons (2)
    • Oranges (2)
    • Estimated Cost: $2.00

Estimated Budget for Holiday Baking

Now that we have our essential ingredients listed, let’s calculate the estimated total cost for a family of four:

IngredientEstimated Cost
All-purpose flour$3.00
Granulated sugar$2.00
Brown sugar$2.00
Baking powder$1.00
Baking soda$1.00
Kosher salt$1.00
Unsalted butter$4.00
Large eggs$3.00
Whole milk$3.00
Pure vanilla extract$6.00
Unsweetened cocoa powder$3.00
Nuts (optional)$6.00
Semi-sweet chocolate chips$3.00
Fresh cranberries$3.00
Apples$2.00
Ground cinnamon$2.00
Ground nutmeg$2.00
Ground ginger$2.00
Active dry yeast$2.00
Lemons$1.00
Oranges$1.00
Total Estimated Cost$56.00

Tips for Budget-Friendly Holiday Baking

  1. Buy in Bulk: Purchase larger quantities of flour, sugar, and other staples to save money.
  2. Use Seasonal Ingredients: Incorporate seasonal fruits and spices to enhance flavors without breaking the bank.
  3. Plan Ahead: Create a baking schedule to avoid last-minute purchases and ensure you have everything you need.
  4. Share the Joy: Consider baking in batches and sharing with friends and family, which can make the process more enjoyable and cost-effective.

With this essential ingredient list and budget in hand, you’re well on your way to a successful holiday baking season. Embrace the joy of creating delicious treats that will bring warmth and cheer to your home and those you love. Happy baking!

DIY: Create Your Advent’s Calendar | Day 10 of 60 | Preparing for the Holidays

Advents Calendars don’t have to be filled with chocolate or bought in the store

Crafting Your Own Advent Calendar: Creative Ideas and Gift Suggestions

The holiday season is a time for joy, celebration, and anticipation, and what better way to count down the days to Christmas than with a DIY advent calendar? While traditional calendars often feature chocolates or candies, you can get creative and design one that suits your style and preferences. Whether you choose to use envelopes, boxes, or bags, the possibilities are endless! Here’s how to create your own advent calendar and some thoughtful gift ideas to include.

1. Creating an Advent Calendar with Envelopes

Using envelopes is a simple and versatile way to create an advent calendar. Here’s how to do it:

Materials Needed:

  • 24 small envelopes (you can decorate them with festive designs)
  • String or ribbon for hanging
  • Clothespins or tape
  • Small gifts or notes to fill the envelopes

Instructions:

  1. Decorate the Envelopes: Use markers, stickers, or washi tape to personalize each envelope. Number them from 1 to 24 for the days leading up to Christmas.
  2. Fill the Envelopes: Instead of sweets, consider filling each envelope with small gifts, notes, or even cash. For example, I created an advent calendar filled with money to spend after Christmas on holiday shopping. This gives me extra spending money for post-holiday sales and avoids the temptation of extra chocolates or candies in the house.
  3. Display Your Calendar: Hang the envelopes on a string or ribbon using clothespins, or arrange them on a shelf or table for easy access.

2. Creating an Advent Calendar with Boxes

If you prefer a more structured approach, using small boxes can be a fun way to create your advent calendar.

Materials Needed:

  • 24 small boxes (you can use gift boxes, matchboxes, or even repurpose small containers)
  • Decorative paper or wrapping for the boxes
  • Number stickers or tags
  • Small gifts or treats to fill the boxes

Instructions:

  1. Wrap the Boxes: Decorate each box with festive wrapping paper or paint. Number them from 1 to 24.
  2. Fill the Boxes: Choose a variety of small gifts, such as mini candles, ornaments, or beauty products. You can also include handwritten notes with fun activities or experiences to enjoy during the holiday season.
  3. Arrange the Boxes: Stack the boxes in a pyramid shape, line them up on a shelf, or create a festive display on your dining table.

3. Creating an Advent Calendar with Bags

Using small bags is another creative option for your advent calendar. This method is especially great for a more casual and playful look.

Materials Needed:

  • 24 small bags (paper, fabric, or burlap bags work well)
  • Twine or string for hanging
  • Number tags or stickers
  • Fun gifts or surprises to fill the bags

Instructions:

  1. Decorate the Bags: Use tags or stickers to number each bag from 1 to 24. You can also personalize them with festive designs or names.
  2. Fill the Bags: Consider including a mix of small gifts, such as tea bags, handmade coupons for activities, or even a few holiday-themed items like ornaments or decorations.
  3. Display the Bags: Hang the bags on a string or arrange them in a basket for a charming display.

Creating your own advent calendar is a wonderful way to add a personal touch to your holiday season. Whether you choose to use envelopes, boxes, or bags, the key is to fill them with thoughtful gifts. By customizing your advent calendar, you can make the countdown to Christmas even more special, all while avoiding the extra calories that often come with traditional calendars. So gather your materials, get creative, and enjoy the process of crafting a unique advent calendar that reflects your style and spirit! Happy holidays!

DIY: Make Gift Tags and Wrapping Paper | Day 9 of 60 | Health Storey Holiday Prep | Christmas Project

Get Creative This Christmas: Making Homemade Gift Tags and Wrapping Paper

The holiday season is a time for giving, and what better way to show your love and thoughtfulness than with beautifully wrapped gifts? This year, why not add a personal touch by making your own gift tags and wrapping paper? Not only is it a fun and creative activity, but it also allows you to express your unique style. Here’s how to get started on your homemade gift tags and wrapping paper for Christmas!

Why Go Homemade?

Creating your own gift tags and wrapping paper adds a special touch to your presents. It shows that you’ve put in extra effort and thought into your gifts, making them even more meaningful. Plus, it’s a great way to recycle materials you already have at home, reducing waste and saving money.

Making Homemade Gift Tags

Materials Needed:

  • Cardstock or recycled cardboard (old cereal boxes work great!)
  • Scissors
  • Hole punch
  • String or ribbon
  • Markers, stamps, or decorative washi tape
  • Optional: Stickers, glitter, or other embellishments

Steps:

  1. Cut Out Your Tags: Start by cutting your cardstock or cardboard into tag shapes. You can make them rectangular, circular, or even use cookie cutters for fun shapes. Aim for a size that’s easy to write on.
  2. Decorate Your Tags: Use markers, stamps, or washi tape to add festive designs or patterns. Get creative! You can draw Christmas trees, snowflakes, or simply write “To” and “From” in beautiful lettering.
  3. Add a Hole: Use a hole punch to create a hole at the top of each tag. This is where you’ll thread your string or ribbon.
  4. Finish with String: Cut a length of string or ribbon and thread it through the hole. Tie it securely so your tag is ready to attach to your gifts.
  5. Personal Touch: Consider writing a heartfelt message or a special memory on the back of the tag to make it even more personal.

Creating Your Own Wrapping Paper

Materials Needed:

  • Brown kraft paper, white paper, or recycled paper (like old newspapers or maps)
  • Stamps or stencils
  • Paint or ink pads
  • Markers or colored pencils
  • Optional: Natural elements like pinecones, leaves, or twine

Steps:

  1. Choose Your Base: Start with a roll of brown kraft paper or any large sheets of recycled paper. This will be your canvas for wrapping.
  2. Design Your Paper: Use stamps or stencils to create festive patterns. You can stamp snowflakes, Christmas trees, or even use your hands to create fun designs. If you’re feeling artistic, paint or draw directly onto the paper.
  3. Add Color: Use markers or colored pencils to add extra details or color to your designs. This is a great way to make your wrapping paper truly unique.
  4. Incorporate Natural Elements: For a rustic touch, consider adding natural elements like twine, dried flowers, or pinecones to your wrapped gifts. Simply tie them onto the package for an extra special touch.
  5. Wrap Your Gifts: Once your wrapping paper is ready, use it to wrap your gifts. Secure with tape and finish with your homemade gift tags for a cohesive look.

Making your own gift tags and wrapping paper is a delightful way to add a personal touch to your holiday gifts. Not only does it allow you to express your creativity, but it also makes your presents stand out under the tree. Plus, it’s a fun activity to do with family and friends, creating lasting memories as you prepare for the holiday season. So gather your materials, unleash your creativity, and enjoy the process of making your gifts truly special this Christmas! Happy crafting!

Suggested Menus for Thanksgiving

Thanksgiving Menu Planning: How Many Dishes for Your Guests?

Thanksgiving is a time for family, friends, and, of course, delicious food! Planning the perfect menu can be tricky, especially when it comes to deciding how many dishes to prepare. Here’s a guide on how many stuffings, entrees, and desserts to serve based on your guest count, along with example menus for different regional styles.

How Many Dishes to Prepare?

Here’s a quick breakdown of how many dishes you might want to prepare based on the number of guests:

Guest CountStuffingsEntreesDesserts
4111
61-211-2
122-322-3

Example Menus by Regional Theme

Southern Cooking Thanksgiving Menu

  • Entree:
  • Mustard Honey-Glazed Turkey
  • Stuffing:
  • Cornbread Stuffing with Chicken Sausage
  • Sides:
  • Collard Greens
  • Mashed Potatoes with Gravy
  • Sweet Potato Casserole
  • Desserts:
  • Apple Pie
  • Red Velvet Cake

Southwest Cooking Thanksgiving Menu

  • Entree:
  • Chipotle-Glazed Turkey
  • Stuffing:
  • Corn and Black Bean Stuffing
  • Sides:
  • Roasted Corn Salad
  • Green Chili Mashed Potatoes
  • Jalapeño Cornbread
  • Desserts:
  • Pumpkin Flan
  • Tres Leches Cake

Midwestern Chicago Thanksgiving Menu

  • Entree:
  • Roast Turkey with Herb Butter
  • Stuffing:
  • Traditional Bread Stuffing
  • Sides:
  • Creamed Spinach
  • Garlic Mashed Potatoes
  • Green Bean Casserole
  • Cranberry Bread
  • Desserts:
  • Apple and Cranberry Pie
  • HoneyNut Squash Bars with Vanilla Ice Cream

New York Thanksgiving Menu

  • Entree:
  • Herb-Roasted Turkey or Vegetarian Chicken Thighs
  • Stuffing:
  • Wild Rice and Mushroom Stuffing
  • Mushroom and Cranberry Stuffing
  • Sides:
  • Roasted Vegetables
  • Butternut Squash Soup
  • Classic Stuffed Mushrooms.
  • Desserts:
  • Pumpkin Bars
  • Lemon Meringue Pie

No matter where you are, Thanksgiving is a time to gather and enjoy good food. By planning your menu based on the number of guests and choosing a regional theme, you can create a memorable feast that everyone will love.

Happy Thanksgiving!

Start a Holiday Journal | Day 4 of 60 | Health Storey Prep for the Holidays

Day 4: Start Your Holiday Journal or Planner

The holiday season is a magical time filled with joy, family, and memories. One great way to capture all those moments is by starting a holiday journal or planner. Let’s explore how you can get started!

Why Keep a Holiday Journal?

Keeping a holiday journal allows you to document your experiences, thoughts, and feelings throughout the season. Here are some benefits:

  • Reflect on Memories: Writing helps you remember special moments.
  • Stay Organized: A planner can help you keep track of events, gifts, and to-do lists.
  • Boost Creativity: Journaling can inspire you to create new holiday traditions.

Choosing Between a Journal and a Planner

Both options have their perks, so it’s essential to choose what works best for you. Here’s a quick comparison:

FeatureHoliday JournalHoliday Planner
FocusPersonal reflectionsOrganization and planning
FormatFree-form writingStructured layout
CreativityHigh (doodles, stickers)Moderate (checklists)

Getting Started with Your Journal

If you decide to go with a journal, here are some tips to kick things off:

  1. Choose Your Journal: Pick one that inspires you, whether it’s a simple notebook or a fancy bound book.
  2. Set a Routine: Dedicate a few minutes each day to write about your holiday experiences.
  3. Include Prompts: Use prompts like “What am I grateful for this holiday?” or “What’s my favorite holiday memory?” to spark your creativity.

Starting Your Holiday Planner

If organization is your goal, a holiday planner might be the way to go. Here’s how to get started:

  1. Select a Planner: Look for one that has sections for events, gift lists, and meal planning.
  2. Create a Calendar: Mark important dates like parties, family gatherings, and deadlines for gift shopping.
  3. Make Lists: Write down gift ideas, recipes, and tasks to keep everything in one place.

Tips for Success

  • Be Consistent: Try to write or plan at the same time each day.
  • Add Personal Touches: Use stickers, drawings, or photos to make your journal or planner unique.
  • Review Regularly: Take time to read back through your entries or check off completed tasks.

Starting a holiday journal or planner can enhance your holiday experience. Whether you choose to reflect on your feelings or keep everything organized, you’ll create a treasure trove of memories to look back on for years to come.

For more tips on holiday preparation, check out Health-Storey and stay tuned for more ideas in our 60-day holiday prep series!

Pickng a Holiday Theme | Day 3 of 60 | Prepping for Thanksgiving and Christmas

Choosing Your Christmas and Holiday Season Theme for 2025

The holiday season is a magical time of year, filled with joy, family gatherings, and festive decorations. As we look ahead to 2025, it’s the perfect moment to start thinking about your Christmas and holiday theme.

Why Choose a Theme?

Having a theme can make your holiday celebrations more cohesive and memorable. It helps you decide on decorations, color schemes, and even the types of food you’ll serve. Plus, it adds a fun twist to your holiday preparations!

Popular Themes for 2025

Here are some exciting themes to consider for your holiday season:

1. Classic Winter Wonderland

  • Think whites, blues, and silvers.
  • Use snowflakes, icicles, and twinkling lights.

2. Rustic Charm

  • Incorporate natural elements like wood, pinecones, and burlap.
  • Use warm colors like red, green, and gold.

3. Vintage Christmas

  • Embrace retro decorations and colors.
  • Use old-fashioned ornaments and classic holiday music.

4. Modern Minimalism

  • Focus on simple, clean lines and a limited color palette.
  • Use geometric shapes and metallic accents.

5. Cultural Celebrations

  • Highlight traditions from different cultures.
  • Incorporate unique decorations and foods from around the world.

Tips for Choosing Your Theme

  • Consider Your Space: Think about how your chosen theme will fit into your home.
  • Budget Wisely: Some themes may require more decorations than others, so plan accordingly.
  • Involve Family: Get everyone’s input to make the theme more personal and fun.

Final Touches

Once you’ve chosen your theme, it’s time to get creative! From decorations to food, let your theme guide your choices.

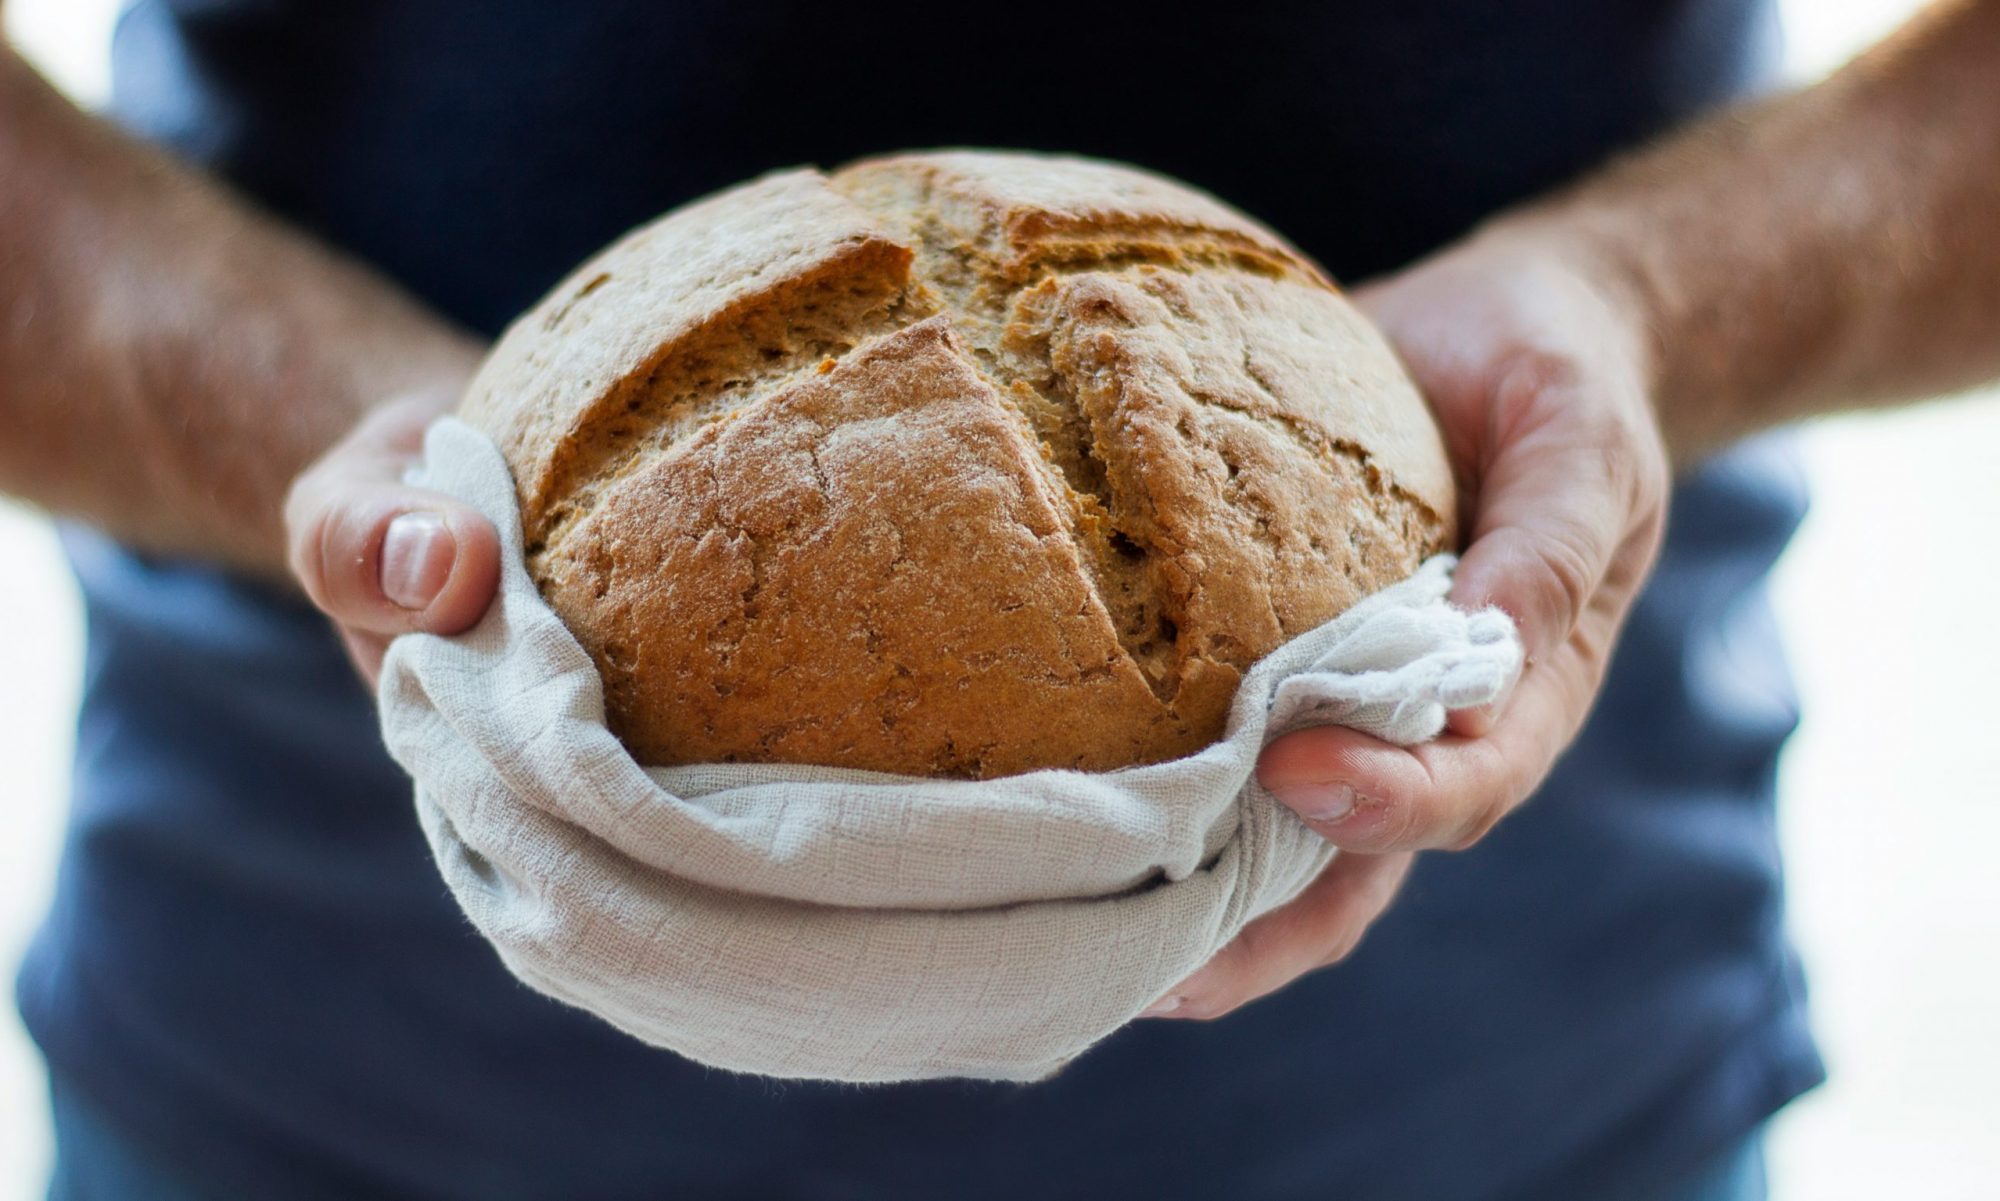
Atlanta White Detox Bread

A Festive Recipe to Try While Holiday Prepping

As you prepare for the holiday season, why not try making Atlanta White Bread? It’s a simple recipe that takes a few hours but can be a great addition to your holiday meals.

Ingredients:

  • 3 cups flour
  • 1/4 cup sugar
  • 1/8 cup oil
  • 3/4 tsp salt
  • 1 packet instant yeast
  • 1 cup warm water

Instructions:

  1. Mix the warm water and yeast packet together.
  2. Add some sugar and let the yeast bloom for about 5-10 minutes.
  3. In a bowl, mix the yeast mixture with salt, oil, and flour until combined.
  4. Knead the dough on a floured or oiled counter until smooth.
  5. Place the dough in a bowl and let it sit for 90 minutes.
  6. After 90 minutes, knead again and cut into four pieces and let them sit for another 30 minutes.
  7. Store three pieces for future meals and place one piece into your baking container.
  8. Bake for at least 20 minutes at 375 degrees.

Variations for the Holiday Season

  • Herb-Infused Bread: Add dried herbs like rosemary or thyme for a savory twist.
  • Sweet Cinnamon Bread: Mix in cinnamon and a bit of nutmeg for a sweet holiday flavor.
  • Cheese and Garlic Bread: Fold in shredded cheese and minced garlic for a delicious side.

With these ideas and recipes, you’re all set to make your 2025 holiday season unforgettable! Happy planning!