Cherishing Family Memories
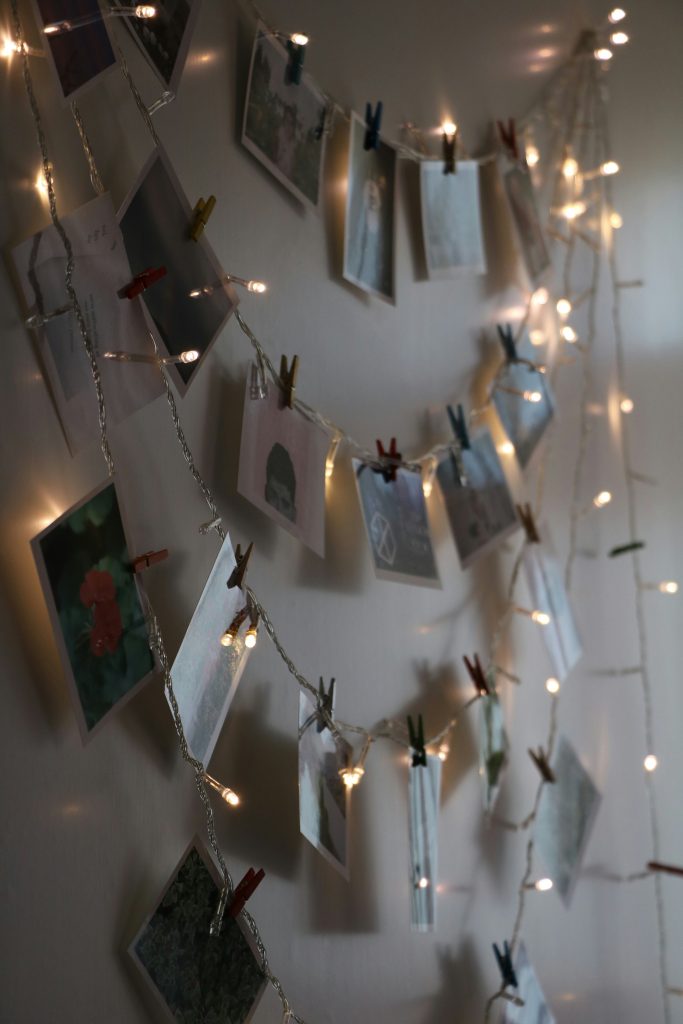
The holiday season is the perfect time to gather with loved ones, reflect on the year, and celebrate the moments that matter most. One wonderful way to do this is by creating a holiday photo wall where family members can display their favorite pictures from the year. Not only does this make for a heartwarming decoration, but it also stimulates conversations and nostalgia for shared experiences.
Why Create a Holiday Photo Wall?
A holiday photo wall serves as a visual diary of your family’s year, showcasing everything from birthdays and vacations to everyday moments. It allows everyone to share their unique experiences and bond over shared memories, adding a personal touch to your holiday decor.
Supplies Needed
To create your holiday photo wall, gather the following supplies:
- Small Photo Printer
- A compact printer that can easily print 4×6 or smaller photos. Models like the Canon Selphy or HP Sprocket are popular options.
- Estimated Cost: $100 – $150
- Photo Paper
- Specialty photo paper compatible with your printer ensures high-quality prints.
- Estimated Cost: $20 for a pack of 50 sheets.
- Wall Space
- Designate an area in your home—a wall or large board—as your display space.
- Photo Display Materials
- Consider clips, a clothesline, or washi tape to hang the photos creatively.
- Decorative Items
- Optional: Fairy lights, garlands, or holiday-themed decorations to enhance the visual appeal.
Time Needed for Printing Photos
Printing photos for an entire wall can take some time. Here’s a rough estimate:
- Total Prints: If you plan to include 50 photos, printing each photo will take about 1-2 minutes.
- Estimated Total Time: Approximately 1.5 to 2 hours for printing all photos.
When to Start Organizing
The ideal time to start this project is around Thanksgiving. This allows your family to reflect on the past year during the holiday and gather pictures from various sources, such as smartphones, social media, and digital cameras. Here’s a suggested timeline:
- Thanksgiving Weekend: Start collecting photos and planning the layout.
- First Week of December: Begin printing photos and setting up the wall.
- Second Week of December: Finalize your display and enjoy the visual memories.
What to Do with the Photos After Posting Them
Once your holiday photo wall is complete, consider these options for preserving the memories:
- Create a Photo Album: After the holiday season, compile all printed photos into a family album for lasting memories.
- Rotate Photos Annually: Choose a few standout photos to keep on display and store the rest for future holidays.
- Digital Archive: Scan the printed photos or take digital shots of the wall before taking it down to preserve them in a digital format.
- Gifts for Family: Surprise relatives by creating smaller versions of the photo wall or framing individual photos as gifts.
Final Thoughts
Creating a holiday photo wall is a delightful way to honor your family’s memories and build connections during the festive season. With just a few supplies, some planning, and a sprinkle of creativity, you can turn your home into a warm showcase of love and cherished moments. So gather those photos and let the holiday magic begin!