Advent Day 20 | DIY Art | Free Artwork on Christmas Day

DIY Holiday Joy: Create Free Artwork as a Thoughtful Christmas Present

The holiday season is all about giving, but gifts don’t always have to come with a price tag. This year, why not spread joy and festive cheer by creating free artwork to gift as a Christmas present? It’s a creative, heartfelt way to connect with others, brighten someone’s day, and celebrate the spirit of giving without spending a dime.

What is Free Art Friday?

Inspired by the global movement known as Free Art Friday, where artists leave small pieces of art in public places for strangers to find, you can embrace this idea during the holidays. The concept is simple: create art, then leave it somewhere for someone to discover — no strings attached. It’s a wonderful way to share beauty and kindness in your community.

How to Make Your Own Free Artwork Gift

1. Choose Your Medium
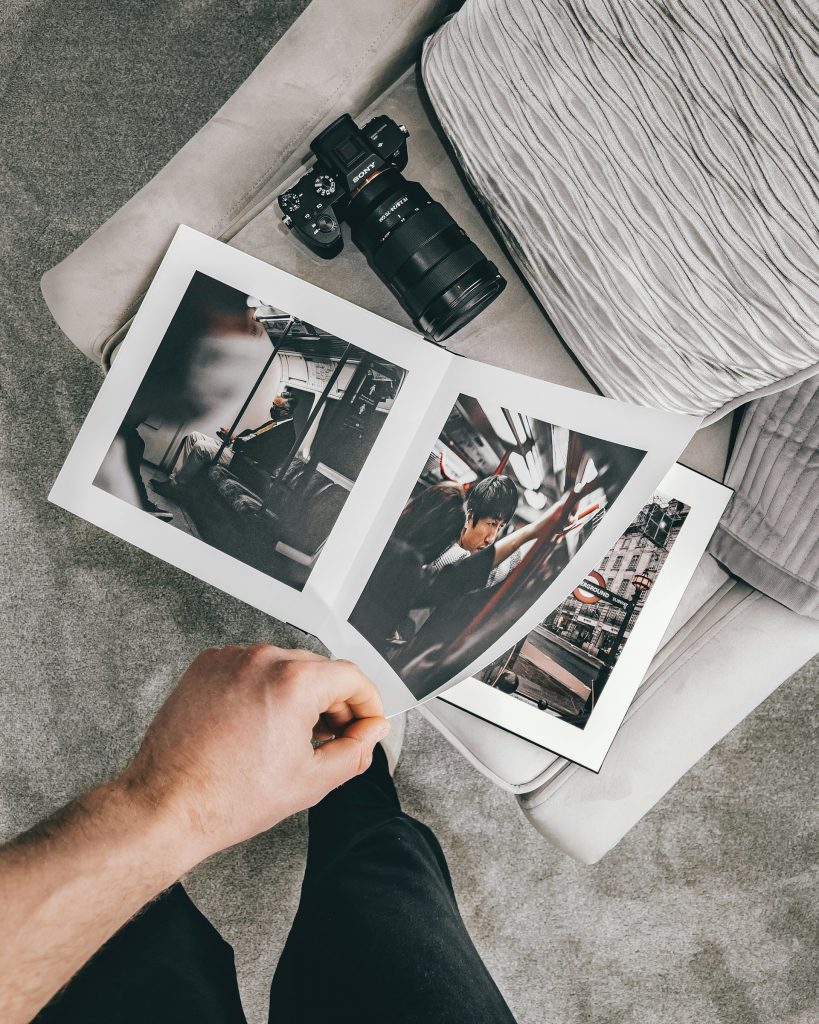
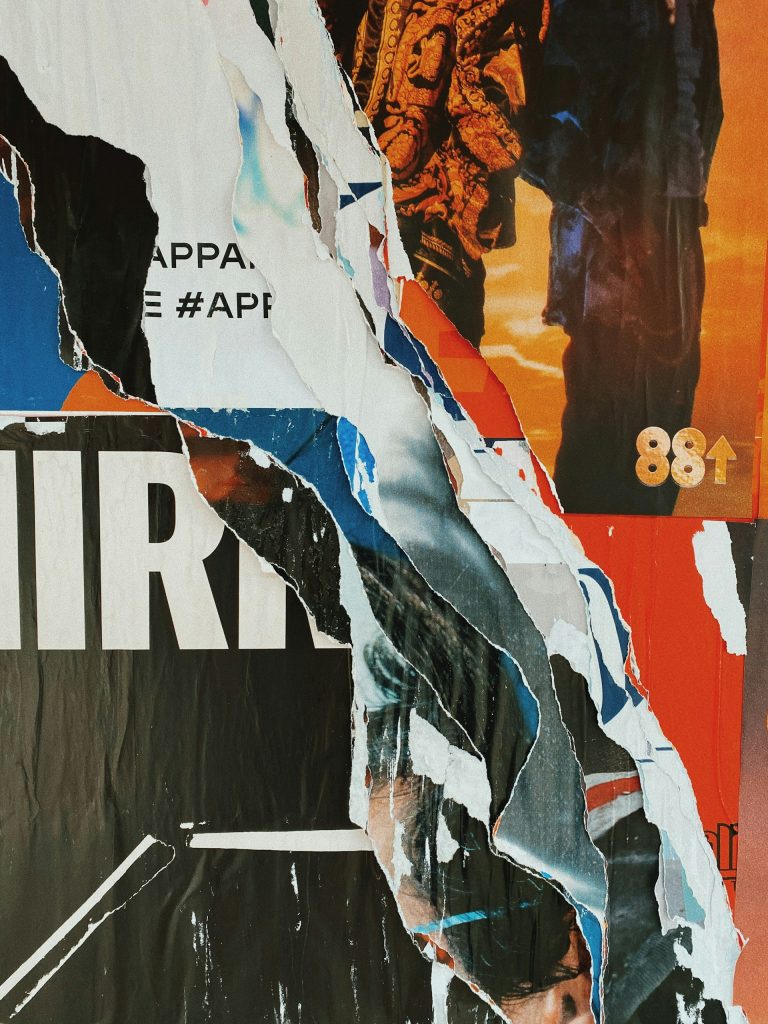
You don’t need to be a professional artist. Your artwork can be anything from a colorful drawing, a hand-painted card, a decorated postcard, or even a festive collage made from recycled materials. Use supplies you already have at home – markers, crayons, paints, or digital art printed on paper.

2. Add a Personal Touch
Include a warm message, a holiday greeting, or an inspiring quote on your artwork. It adds meaning and makes the gift truly special.

3. Prepare Your Artwork for Giving
To protect your art, especially if it will be left outside, consider placing it inside a clear plastic sleeve or a simple homemade envelope. You want the art to stay safe until it’s found or received.

4. How to Gift Your Artwork

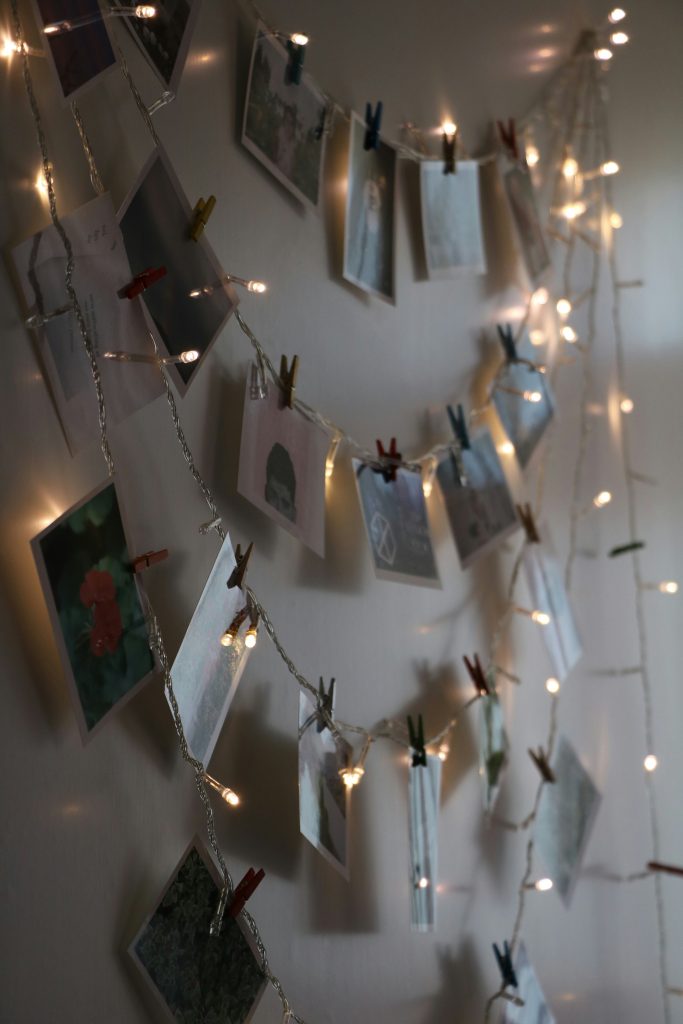
  • Free Art Friday Style: Leave your artwork somewhere public for anyone to find — on a park bench, a library table, or a community bulletin board. It’s a surprise gift that anyone might stumble upon.
  • For a More Personal Touch: If you want to ensure someone specific receives your gift, place the artwork inside a neighbor’s mailbox or slip it under their door with a note saying, “Free Art for the Holiday! From your Neighbor”

In a world where commercialism can often overshadow the holiday spirit, gifting free artwork is a refreshing reminder that kindness, creativity, and thoughtfulness are the greatest presents of all. It is also a beautiful way to build community connection, share smiles, and spread light during the festive season.


Bonus Tips for Your Free Art Christmas Present:

  • Include a hashtag like #FreeArtFriday or #HolidayArtGift to encourage others to join in spreading kindness.
  • Encourage recipients to “pay it forward” by creating their own free art gifts.

This holiday, let your creativity shine and surprise someone with a gift from the heart — a free piece of art. It’s simple, meaningful, and sure to make the season brighter for both you and your community. Ready to create and give? The joy of free art is just a brushstroke away!

Sample Health Storey Form | Vision Board for 2026

Here’s a structured form for health coaching clients to create a Vision Board for their first year of detox. You can modify it for print or digital use.


Vision Board Creation Form

Client Information

  • Name: ___________
  • Email: ___________
  • Date: ___________

Step-by-Step Instructions for Creating Your Vision Board

1. Set Your Intentions:

  • Reflect on your goals for your detox journey. What do you hope to achieve this year?
  • Write down at least 3 key intentions:
    • __________________________________________
    • __________________________________________
    • __________________________________________

2. Gather Materials:

  • You can create your vision board digitally or manually. Here are some suggested materials:
    • Manual Board: Poster board, magazines, scissors, glue, markers.
    • Digital Board: Canva, Pinterest, or any graphic design tool.

3. Gather Inspiration:

  • Look through magazines, online platforms, or personal photos for images, quotes, and words that resonate with your detox journey.
  • List some themes or symbols you want to include:
    • __________________________________________
    • __________________________________________

4. Create Your Board:

  • Manual Method: Cut out images and words and arrange them on your board. Use markers to write your intentions and draw connections.
  • Digital Method: Open your chosen program, upload images, and arrange them creatively. Use text boxes for intentions and quotes.

5. Personalize:

  • Add colors, stickers, or designs that inspire you. This board should be a reflection of your aspirations!

6. Placement:

  • Once completed, place your vision board somewhere you’ll see it daily (e.g., your workspace, bedroom, or digital wallpaper).

Reflection

  • How do you feel about your vision board?
  • __________________________________________
  • __________________________________________

Commitment to Your Journey

  • Write a letter to yourself, committing to your detox journey and the steps you will take to achieve your vision:
  • __________________________________________
  • __________________________________________

Next Steps

  • Schedule a follow-up session to discuss your vision board and how it aligns with your goals:
  • Date: ______________________________

Feel free to adapt any sections based on your coaching style or specific client needs!


End of Form

Happy Day 4 of Advent!

Dec 3 | Making Health Storey Candied Ginger & Health Storey Ginger Lemon Tea Syrup

Warm Up This Winter: Homemade Ginger Tea Syrup and Candied Ginger

When the winter chill sets in, there’s nothing quite like a cup of ginger tea to warm you up. Not only is it soothing, but it’s also packed with health benefits.

Why Ginger?

Ginger is renowned for its numerous health benefits, especially in the colder months. It’s an effective remedy for colds and flu, aids digestion, and has anti-inflammatory properties. Incorporating ginger into your diet during winter can help boost your immune system and keep you feeling energized.

Ingredients

For the Ginger Tea Syrup:

  • 3 cups fresh ginger, peeled and diced in small pieces
  • 1 cup sugar
  • 1 cup water
  • Zest of 3 lemons
  • 3 lemons
  • Zest of 1 orange

For the Candied Ginger:

  • Ginger pieces used from the syrup
  • Extra sugar for rolling

Instructions

Making the Ginger Tea Syrup

  1. Prepare your Ingredients: Start by peeling and dicing the ginger. Zest and peel the lemon and orange.
  2. Combine Ingredients: In a medium saucepan, combine the sliced ginger, sugar, and water. Stir well to dissolve the sugar.
  3. Simmer: Place the saucepan on the stove over medium heat and bring the mixture to a gentle simmer. Add the lemon and orange zest and lemon pieces.
  4. Cook: Allow the mixture to simmer for hours, stirring occasionally, until the syrup has thickened and turned a lovely golden brown.
  5. Cool and Store: Once you achieve the desired consistenc place the syrup in a canning jar and let the syrup cool before sealing it. Store it in the refrigerator, where it can last for up to two weeks. If you would like to store for a longer time, place the cooled syrup into ice cube trays and freeze.

Making Candied Ginger

  1. Roll in Sugar: While the ginger pieces are still slightly sticky from the syrup, roll them in sugar to coat thoroughly.
  2. Dry: Place the coated ginger pieces on a parchment-lined baking sheet and let them dry for a few hours at room temperature.
  3. Store: Once dried, store your candied ginger in an airtight container. Enjoy a few pieces a day as a sweet treat and immune booster!

Health Benefits of Ginger in Winter

  • Immune Booster: Rich in antioxidants, ginger helps strengthen the immune system, making it easier for your body to fight off colds and infections.
  • Soothing Digestive Aid: Ginger can alleviate nausea and promote healthy digestion, especially helpful after holiday feasting.
  • Anti-Inflammatory: Its anti-inflammatory properties can help relieve muscle pain and soreness during cold weather.

Enjoy Your Ginger Goodness!

With this ginger tea syrup and candies in your home, you’re armed with a delicious way to indulge and stay healthy this winter. Add a tablespoon of your syrup to a cup of hot water for a comforting tea, and snack on candied ginger as you enjoy the cozy vibes.

HappyAdvent Calender day 3!

Day 2 Advent | Making A vision Board for 2026 | Vision Board DIY

Creating a Vision Board for 2026: Focused Goals for Your Future

As we move forward into a new year, it’s the perfect time to create a vision board that embodies your dreams and aspirations for 2026. A vision board serves as a visual representation of your goals, helping to manifest your intentions and keep you motivated as you work towards achieving your dreams. In this blog post, we’ll explore how to create a vision board centered around three end-of-year goals and three short-term goals.

Why Vision Boards Work

Vision boards are more than just a collage of images; they serve as constant reminders of what you want to achieve and can inspire positive changes in your life. Research shows that visualization techniques can increase motivation, enhance goal commitment, and boost overall happiness. By placing your vision board in a prominent place, you’ll be reminded of your goals and the steps you need to take to achieve them.

Steps to Create Your Vision Board

1. Reflect on Your Goals

End-of-Year Goals:
First, identify three specific long-term goals you would like to achieve by the end of 2026. These goals should be ambitious yet realistic, serving as a guiding light for your journey. Consider areas such as:

  • Career Advancement: Aim for a specific position, salary, or project completion.
  • Health and Wellness: Think about weight loss, improved fitness levels, or mental well-being.
  • Personal Growth: Focus on areas like education, skills acquisition, or travel experiences.

Short-Term Goals:
Next, outline three short-term goals that can act as stepping stones toward your long-term aspirations. These goals should be achievable within the next few months and should be specific, measurable, and actionable. Examples include:

  • Networking: Attend a certain number of industry events or connect with a mentor.
  • Fitness: Commit to a consistent workout routine or take up a new sport.
  • Skill Development: Enroll in a course related to your career or a personal interest.

2. Gather Materials

To create your vision board, you’ll need:

  • A poster board or corkboard
  • Magazines, printed images, or quotes that resonate with your goals
  • Scissors and glue (or pins)
  • Markers or decorative items (stickers, washi tape, etc.)

3. Visualize Your Goals

As you gather images and words that inspire you, think about how each element relates to your goals. For each end-of-year goal, select visuals that embody what success looks like for you. For example, if your goal is to travel, find images of destinations you want to explore. For short-term goals, look for visuals that represent the actions you need to take.

4. Assemble Your Board

Once you have your materials, arrange them on your board in a way that feels visually appealing to you. You can organize by category (short-term vs. long-term) or create a more abstract design. As you place each item, take a moment to visualize yourself achieving that goal and the emotions you will feel.

5. Display Your Vision Board

Position your vision board in a place where you’ll see it daily—like your workspace, bedroom, or kitchen. This daily exposure will reinforce your intentions and keep your goals top-of-mind.

6. Review and Revise

Your vision board is not just a one-time project. As you progress through the year, take time to review your goals. Celebrate the achievements you’ve made and adjust your board as needed. If new goals arise or priorities shift, feel free to update your vision board to reflect your evolving aspirations.

Creating a vision board focused on three end-of-year goals and three short-term goals can be a powerful tool for manifestation. It allows you to visualize the future you desire, prioritize what truly matters, and stay motivated along your journey. As you embark on this creative endeavor, remember that your vision board serves as a reflection of your potential and aspirations. Here’s to a transformative 2026 filled with success, growth, and vitality! 🌟


By following these steps, you can create a vision board that not only enhances your focus on your goals but also inspires you every single day. Happy crafting!

Create a Yearbook for 2025 | Day 2 of 28 Holiday Dash

Create a Cherished Family Tradition: DIY Year in Photos Book for Christmas

As the holiday season approaches, it’s the perfect time to reflect on the memories created throughout the year. What better way to preserve those moments than by creating a printed year-in-photos book that your family can cherish for years to come? This DIY project not only makes a thoughtful Christmas gift for each family member but also serves as a beautiful way to relive the special moments you’ve shared. Here’s how to prepare for this festive project!

Why Create a Year in Photos Book?

A printed photo book is a timeless keepsake that allows family members to relive memories, share stories, and feel connected to one another. As you gather with loved ones this Christmas, flipping through the pages will invoke nostalgia and spark laughter, making it a wonderful holiday tradition.


Steps to Create Your Year in Photos Book

1. Gather Your Photos

Start by collecting photos from the entire year. Options for sources include:

  • Family vacations
  • Birthdays and celebrations
  • Everyday moments and milestones

2. Choose a Printing Service

Here are some popular places where you can print your photo book:

  • Shutterfly: Known for a wide variety of customizable options.
  • Mixbook: Offers beautiful design templates and easy-to-use software.
  • Snapfish: Often runs promotions for discounted photo books.
  • Blurb: Great for more extensive projects with customizable formats.

3. Understand the Pricing

  • 52-Page Book: Prices typically range from $25 to $50, depending on the printing service and any additional features (like hardcovers).
  • 100-Page Book: Prices can range from $45 to $100, again depending on the printing service and format.

4. Timeframe to Print

  • Most services offer delivery timelines of 1-2 weeks; however, during the holiday rush, it can take longer. Make sure to account for this and order well in advance!

5. Set Up Your Book

Once you’ve selected a printing service, you can usually create your book directly on their website. Here’s how to set it up:

  • Choose a Template: Most printing services offer a variety of templates; select one that resonates with your family’s style.
  • Organize Your Photos: Decide how you’d like to categorize the photos—by month, event, or family member.
  • Layout Each Page: Utilize the templates to create uniformity. You can often add text, captions, and stickers.

Template Ideas for Each Page:

  • Cover Page: Year title, family name, and a highlight photo.
  • Monthly Spreads: 2-4 photos per month with space for titles and captions summarizing key events.
  • Special Events Pages: Dedicated pages for birthdays, holidays, and family gatherings, allowing for more photos and detailed stories.

6. Final Touches

Before you print, double-check for any typos, and ensure the photo quality is high enough to look great in print.


Gift-Giving for Christmas

Once your book is printed, wrap each copy in festive paper or share them with family members during your Christmas gathering as a family yearbook and let them add notes. This thoughtful gift not only serves as a memento but also reinforces family ties and memories.

Creating a year-in-photos book is a rewarding DIY project that captures the essence of your family’s journey throughout the year. With careful planning and a little creativity, you’ll have a beautiful keepsake that everyone will treasure for years to come. Happy crafting, and may your holidays be filled with love and joyful memories!

Create a Photo Wall for the Holidays | Day 28 of 60 Holiday Prep

Cherishing Family Memories

The holiday season is the perfect time to gather with loved ones, reflect on the year, and celebrate the moments that matter most. One wonderful way to do this is by creating a holiday photo wall where family members can display their favorite pictures from the year. Not only does this make for a heartwarming decoration, but it also stimulates conversations and nostalgia for shared experiences.

Why Create a Holiday Photo Wall?

A holiday photo wall serves as a visual diary of your family’s year, showcasing everything from birthdays and vacations to everyday moments. It allows everyone to share their unique experiences and bond over shared memories, adding a personal touch to your holiday decor.

Supplies Needed

To create your holiday photo wall, gather the following supplies:

  1. Small Photo Printer
  • A compact printer that can easily print 4×6 or smaller photos. Models like the Canon Selphy or HP Sprocket are popular options.
  • Estimated Cost: $100 – $150
  1. Photo Paper
  • Specialty photo paper compatible with your printer ensures high-quality prints.
  • Estimated Cost: $20 for a pack of 50 sheets.
  1. Wall Space
  • Designate an area in your home—a wall or large board—as your display space.
  1. Photo Display Materials
  • Consider clips, a clothesline, or washi tape to hang the photos creatively.
  1. Decorative Items
  • Optional: Fairy lights, garlands, or holiday-themed decorations to enhance the visual appeal.

Time Needed for Printing Photos

Printing photos for an entire wall can take some time. Here’s a rough estimate:

  • Total Prints: If you plan to include 50 photos, printing each photo will take about 1-2 minutes.
  • Estimated Total Time: Approximately 1.5 to 2 hours for printing all photos.

When to Start Organizing

The ideal time to start this project is around Thanksgiving. This allows your family to reflect on the past year during the holiday and gather pictures from various sources, such as smartphones, social media, and digital cameras. Here’s a suggested timeline:

  1. Thanksgiving Weekend: Start collecting photos and planning the layout.
  2. First Week of December: Begin printing photos and setting up the wall.
  3. Second Week of December: Finalize your display and enjoy the visual memories.

What to Do with the Photos After Posting Them

Once your holiday photo wall is complete, consider these options for preserving the memories:

  1. Create a Photo Album: After the holiday season, compile all printed photos into a family album for lasting memories.
  2. Rotate Photos Annually: Choose a few standout photos to keep on display and store the rest for future holidays.
  3. Digital Archive: Scan the printed photos or take digital shots of the wall before taking it down to preserve them in a digital format.
  4. Gifts for Family: Surprise relatives by creating smaller versions of the photo wall or framing individual photos as gifts.

Final Thoughts

Creating a holiday photo wall is a delightful way to honor your family’s memories and build connections during the festive season. With just a few supplies, some planning, and a sprinkle of creativity, you can turn your home into a warm showcase of love and cherished moments. So gather those photos and let the holiday magic begin!