6 Weeks Until Christmas! Day – Day 18 of 60 Days of Preparing for Thanksgiving and Christmas

Note: There are 6 Weeks and 46 days until Christmas. When we reach December 1, 2025 An Advents post title will be used on the blog. Please do not stress, it is still the same Holiday prep.

Note: 24 days before Christmas the Holiday Dash becomes an advents calendar. If you are starting the Holiday prep today, skip the non essentials and ask someone else to focus on Thanksgiving if you are not ready for the party. 60 Day dash refers to the holiday season not the days before Christmas. There are 46 days before Christmas.


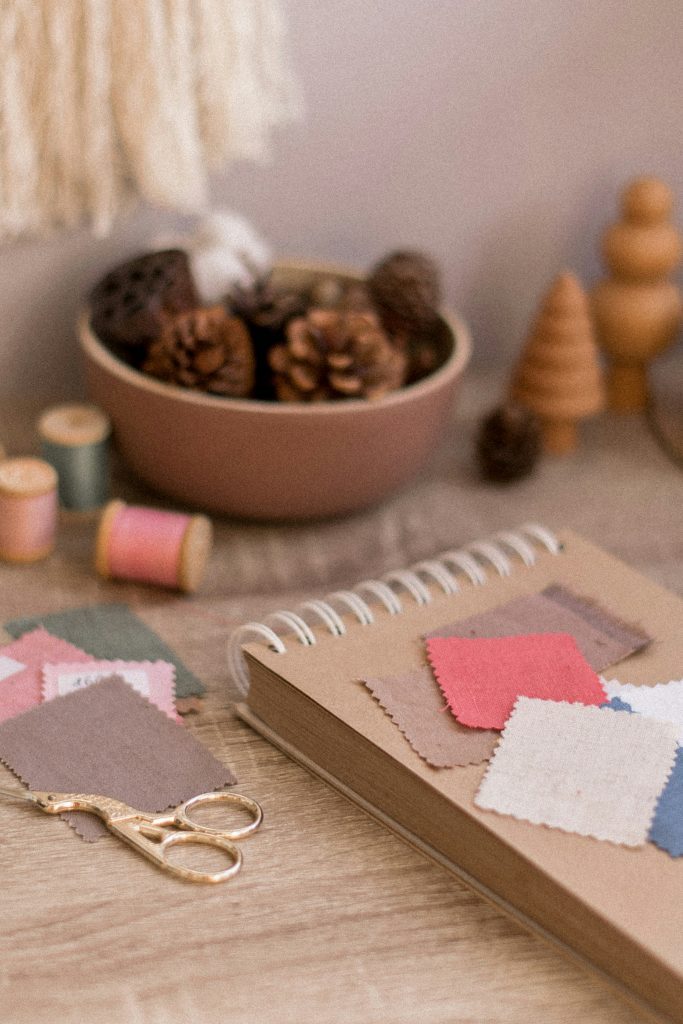
Creating Stunning Holiday Centerpieces for Your Kitchen Counter

The holiday season is a time for gathering, celebration, and creating memories with loved ones. One of the best ways to set the mood for these festive occasions is by decorating your space with beautiful centerpieces. Whether you’re hosting a holiday dinner or simply want to add some cheer to your kitchen counter, a well-designed centerpiece can elevate your decor. In this blog post, we’ll explore the importance of size and height limitations for centerpieces and provide DIY instructions for two distinct styles: a formal centerpiece and an urban-inspired one.

The Perfect Centerpiece for the Space

When designing a centerpiece, it’s essential to consider its size and height. A centerpiece that is too tall can obstruct views and conversations, making it difficult for guests to engage with one another. A centerpiece that is too small may get lost on a large table. If your centerpiece looks too small make an arrangement of three centerpieces to keep the decorations balanced.

For kitchen counters, where space is often limited, it’s crucial to create a centerpiece that complements the area without overwhelming it. Aim for a height that allows for easy eye contact across the table while still being visually interesting – striking. A good rule of thumb is to keep your centerpiece between 12 to 24 inches in height and ensure it doesn’t take up more than one-third of the table’s width.

DIY Centerpiece Ideas

1. Formal Holiday Centerpiece

Materials Needed:

  • A medium-sized decorative bowl or vase
  • Fresh or faux flowers (e.g., white roses, red poinsettias, or evergreen sprigs)
  • Seasonal fruits (e.g., apples, oranges, or pomegranates)
  • LED Candles (preferably unscented)
  • Decorative ribbon or twine
  • Floral foam (optional)

Instructions:

  1. Prepare the Base: Start by placing your decorative bowl or vase in the center of your kitchen counter. If using floral foam, soak it in water and place it inside the bowl to help keep your flowers fresh.
  2. Arrange the Flowers: Trim the stems of your flowers to varying lengths and arrange them in the bowl. Start with the larger blooms at the back and fill in with smaller flowers towards the front. If using floral foam, insert the stems into the foam for stability.
  3. Add Seasonal Fruits: Tuck in seasonal fruits around the flowers for a pop of color and texture. This not only adds visual interest but also brings a natural element to your centerpiece.
  4. Incorporate Candles: Place a few unscented candles of varying heights around the arrangement. This will create a warm, inviting glow during your holiday gatherings.
  5. Finish with Ribbon: Tie a decorative ribbon or twine around the base of the bowl for an added touch of elegance.

2. Urban-Inspired Centerpiece

Materials Needed:

  • A shallow wooden tray or rustic platter
  • Potted plants
  • Decorative stones or pebbles
  • LED lights
  • Ornaments or holiday-themed decor

Instructions:

  1. Set the Base: Place your wooden tray or rustic platter on the kitchen counter. This will serve as the foundation for your urban centerpiece.
  2. Arrange the Plants: Position the potted plants on the tray. Vary the heights and sizes for a more dynamic look.
  3. Add Decorative Stones: Fill in the gaps with decorative stones or pebbles to create a natural, earthy feel. This will also help anchor the plants in place.
  4. Incorporate String Lights: Drape the lights around the plants and stones. This will emphasize and may add a focal point to the display.
  5. Finish with Ornaments: Scatter a few ornaments in the greenery for a festive flair.

Creating a holiday centerpiece for your kitchen counter can be a fun and rewarding DIY project. Enhance your space without overwhelming it and add the holidays to your living space. Whether you opt for a formal centerpiece or something trendy and urban-inspired, these centerpieces will bring joy and the holiday spirit to your holiday celebrations. Happy decorating!

Start Buying Holiday Craft Supplies | Day 11 of 60 Day Holiday Prep for Thanksgiving and Christmas

Setting Up Basic Craft Supplies for Your 60-Day Holiday Prep

The holiday season is just around the corner, and now is the perfect time to start preparing for all those festive DIY projects! Whether you’re planning to create handmade gifts, decorations, or cards, having the right craft supplies on hand will make your holiday prep a breeze. Today marks the beginning of your 60-day countdown to the holidays, so let’s dive into the essential craft supplies you’ll need and some simple DIY projects that even the least crafty among us can tackle.

Essential Holiday Craft Supplies

Before you hit the stores or shop online, here’s a comprehensive list of basic craft supplies to gather:

  1. Paper Supplies:
  • Cardstock (various colors)
  • Wrapping paper
  • Tissue paper
  • Craft paper (for scrapbooking)
  1. Adhesives:
  • Glue sticks
  • Liquid glue
  • Double-sided tape
  • Hot glue gun and glue sticks
  1. Tools:
  • Scissors
  • Craft knife
  • Ruler
  • Cutting mat
  1. Decorative Supplies:
  • Ribbons and twine
  • Stickers and embellishments
  • Washi tape
  • Glitter and sequins
  1. Painting Supplies:
  • Acrylic paints
  • Paintbrushes (various sizes)
  • Sponges for texture
  1. Fabric and Textiles:
  • Felt sheets
  • Cotton fabric (for sewing projects)
  • Embroidery thread
  1. Miscellaneous:
  • Holiday-themed stencils
  • Craft foam sheets
  • Beads and buttons
  • Holiday-themed cookie cutters

Simple DIY Projects for Non-Crafters

If you’re not particularly crafty but still want to create something beautiful for the holidays, here are three simple DIY projects that require minimal skills but yield stunning results:

  1. Holiday Mason Jar Gifts:
  • Supplies Needed: Mason jars, hot cocoa mix, marshmallows, chocolate chips, ribbons.
  • Instructions: Layer the hot cocoa mix, marshmallows, and chocolate chips in the mason jar. Seal it and decorate the jar with a festive ribbon. Attach a tag with instructions for making the perfect cup of cocoa!
  1. DIY Holiday Ornaments:
  • Supplies Needed: Clear glass or plastic ornaments, paint, glitter, and ribbon.
  • Instructions: Remove the top of the ornament and pour in a small amount of paint. Swirl it around to coat the inside, then add glitter for extra sparkle. Replace the top and hang a ribbon for a beautiful ornament that adds a personal touch to your tree.
  1. Personalized Gift Tags:
  • Supplies Needed: Cardstock, scissors, hole punch, and decorative elements (stickers, stamps).
  • Instructions: Cut the cardstock into tag shapes and punch a hole at the top. Decorate with stickers or stamps, and write the recipient’s name on each tag. These personalized touches will make your gifts stand out!

Conclusion

With your basic craft supplies gathered and a few simple projects in mind, you’re well on your way to a festive and creative holiday season. Remember, the key to enjoying your holiday prep is to have fun and let your creativity shine. So, grab your shopping list, head out to gather your supplies, and get ready to craft your way through the holidays! Happy crafting!

Below is a Checklist you can use for shopping:

Holiday Craft Supply Essential Deluxe Checklist

Use this handy checklist to ensure you have all the essential supplies for your holiday crafting projects.

  • [ ] Cardstock (various colors)
  • [ ] Wrapping paper
  • [ ] Tissue paper
  • [ ] Craft paper (for scrapbooking)
  • [ ] Holiday-themed scrapbook paper
  • [ ] Glue sticks
  • [ ] Liquid glue
  • [ ] Double-sided tape
  • [ ] Hot glue gun
  • [ ] Hot glue sticks
  • [ ] Scissors
  • [ ] Craft knife
  • [ ] Ruler
  • [ ] Cutting mat
  • [ ] Hole punch
  • [ ] Ribbons (various colors and widths)
  • [ ] Twine
  • [ ] Stickers (holiday-themed)
  • [ ] Washi tape
  • [ ] Glitter
  • [ ] Sequins
  • [ ] Beads
  • [ ] Acrylic paints (various colors)
  • [ ] Paintbrushes (various sizes)
  • [ ] Sponges (for texture)
  • [ ] Felt sheets (various colors)
  • [ ] Cotton fabric (for sewing projects)
  • [ ] Embroidery thread
  • [ ] Fabric scissors
  • [ ] Holiday-themed stencils
  • [ ] Craft foam sheets
  • [ ] Holiday-themed cookie cutters
  • [ ] Clear plastic or glass ornaments (for DIY projects)
  • [ ] Mason jars (for gift projects)
  • [ ] Craft storage bins or boxes
  • [ ] Ziplock bags (for small items)
  • [ ] Labels (for organizing supplies)
  • [ ] Notebooks or sketchpads (for planning projects)
  • [ ] Markers or pens (for writing and decorating)
  • [ ] Holiday-themed templates or printables (for inspiration)

Feel free to print this checklist or keep it handy on your phone as you shop for your holiday crafting supplies. Happy crafting!

DIY: Create Your Advent’s Calendar | Day 10 of 60 | Preparing for the Holidays

Advents Calendars don’t have to be filled with chocolate or bought in the store

Crafting Your Own Advent Calendar: Creative Ideas and Gift Suggestions

The holiday season is a time for joy, celebration, and anticipation, and what better way to count down the days to Christmas than with a DIY advent calendar? While traditional calendars often feature chocolates or candies, you can get creative and design one that suits your style and preferences. Whether you choose to use envelopes, boxes, or bags, the possibilities are endless! Here’s how to create your own advent calendar and some thoughtful gift ideas to include.

1. Creating an Advent Calendar with Envelopes

Using envelopes is a simple and versatile way to create an advent calendar. Here’s how to do it:

Materials Needed:

  • 24 small envelopes (you can decorate them with festive designs)
  • String or ribbon for hanging
  • Clothespins or tape
  • Small gifts or notes to fill the envelopes

Instructions:

  1. Decorate the Envelopes: Use markers, stickers, or washi tape to personalize each envelope. Number them from 1 to 24 for the days leading up to Christmas.
  2. Fill the Envelopes: Instead of sweets, consider filling each envelope with small gifts, notes, or even cash. For example, I created an advent calendar filled with money to spend after Christmas on holiday shopping. This gives me extra spending money for post-holiday sales and avoids the temptation of extra chocolates or candies in the house.
  3. Display Your Calendar: Hang the envelopes on a string or ribbon using clothespins, or arrange them on a shelf or table for easy access.

2. Creating an Advent Calendar with Boxes

If you prefer a more structured approach, using small boxes can be a fun way to create your advent calendar.

Materials Needed:

  • 24 small boxes (you can use gift boxes, matchboxes, or even repurpose small containers)
  • Decorative paper or wrapping for the boxes
  • Number stickers or tags
  • Small gifts or treats to fill the boxes

Instructions:

  1. Wrap the Boxes: Decorate each box with festive wrapping paper or paint. Number them from 1 to 24.
  2. Fill the Boxes: Choose a variety of small gifts, such as mini candles, ornaments, or beauty products. You can also include handwritten notes with fun activities or experiences to enjoy during the holiday season.
  3. Arrange the Boxes: Stack the boxes in a pyramid shape, line them up on a shelf, or create a festive display on your dining table.

3. Creating an Advent Calendar with Bags

Using small bags is another creative option for your advent calendar. This method is especially great for a more casual and playful look.

Materials Needed:

  • 24 small bags (paper, fabric, or burlap bags work well)
  • Twine or string for hanging
  • Number tags or stickers
  • Fun gifts or surprises to fill the bags

Instructions:

  1. Decorate the Bags: Use tags or stickers to number each bag from 1 to 24. You can also personalize them with festive designs or names.
  2. Fill the Bags: Consider including a mix of small gifts, such as tea bags, handmade coupons for activities, or even a few holiday-themed items like ornaments or decorations.
  3. Display the Bags: Hang the bags on a string or arrange them in a basket for a charming display.

Creating your own advent calendar is a wonderful way to add a personal touch to your holiday season. Whether you choose to use envelopes, boxes, or bags, the key is to fill them with thoughtful gifts. By customizing your advent calendar, you can make the countdown to Christmas even more special, all while avoiding the extra calories that often come with traditional calendars. So gather your materials, get creative, and enjoy the process of crafting a unique advent calendar that reflects your style and spirit! Happy holidays!